In today’s article, we wanted to highlight our top 7 tips and tricks that will make editing with Gutenberg, the WordPress native editor, easier and more efficient.
Gutenberg is awesome. There’s so much you can do with Gutenberg, which will be covering in articles to come. But for now, read on to learn how to make your editing faster and more effective.
Before we begin, if you don’t already have a WordPress website, but would like to test out Gutenberg, you can here, in WordPress’ online demo page.
1. Keyboard commands & the power of slash “/”
Speed up your creation by using keyboard commands.
Gutenberg responds very well to the standard: cut, copy, paste, bold, underline etc. but has so much more than that. So much so, that it wouldn’t be feasible (and actually a bit boring) to list them all here. Instead, when you’re editing a page, you can see a full list by pressing Shift + Alt + H (PC) or Control + Option + H (Mac).
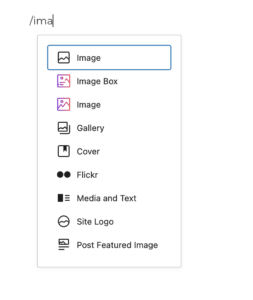
Our favourite by far is the forward slash “/”. When you start a new paragraph, but before you actually begin typing any text, press the slash key “/” to bring up the most recently used blocks. From there, you can start typing to find the exact block you’re after.
For instance, on a new line type: “/ima” and it will filter down blocks related to images for you to choose from.
Also as a bonus, hit Control + S (PC) or Command + S (Mac) to save your work as you go. Gutenberg has a great auto-save feature built in, but you never know.
2. Create reusable blocks
These can help save you time and be especially useful for things like call to actions (CTAs) and contact information.
To create some reuseable blocks, press the top right-hand three vertical dots, then look down the menu and you’ll see “Manage Reusable blocks”. From there you can create custom blocks that can be called into posts and pages.

A basic Call To Action (CTA) case for Reusable blocks
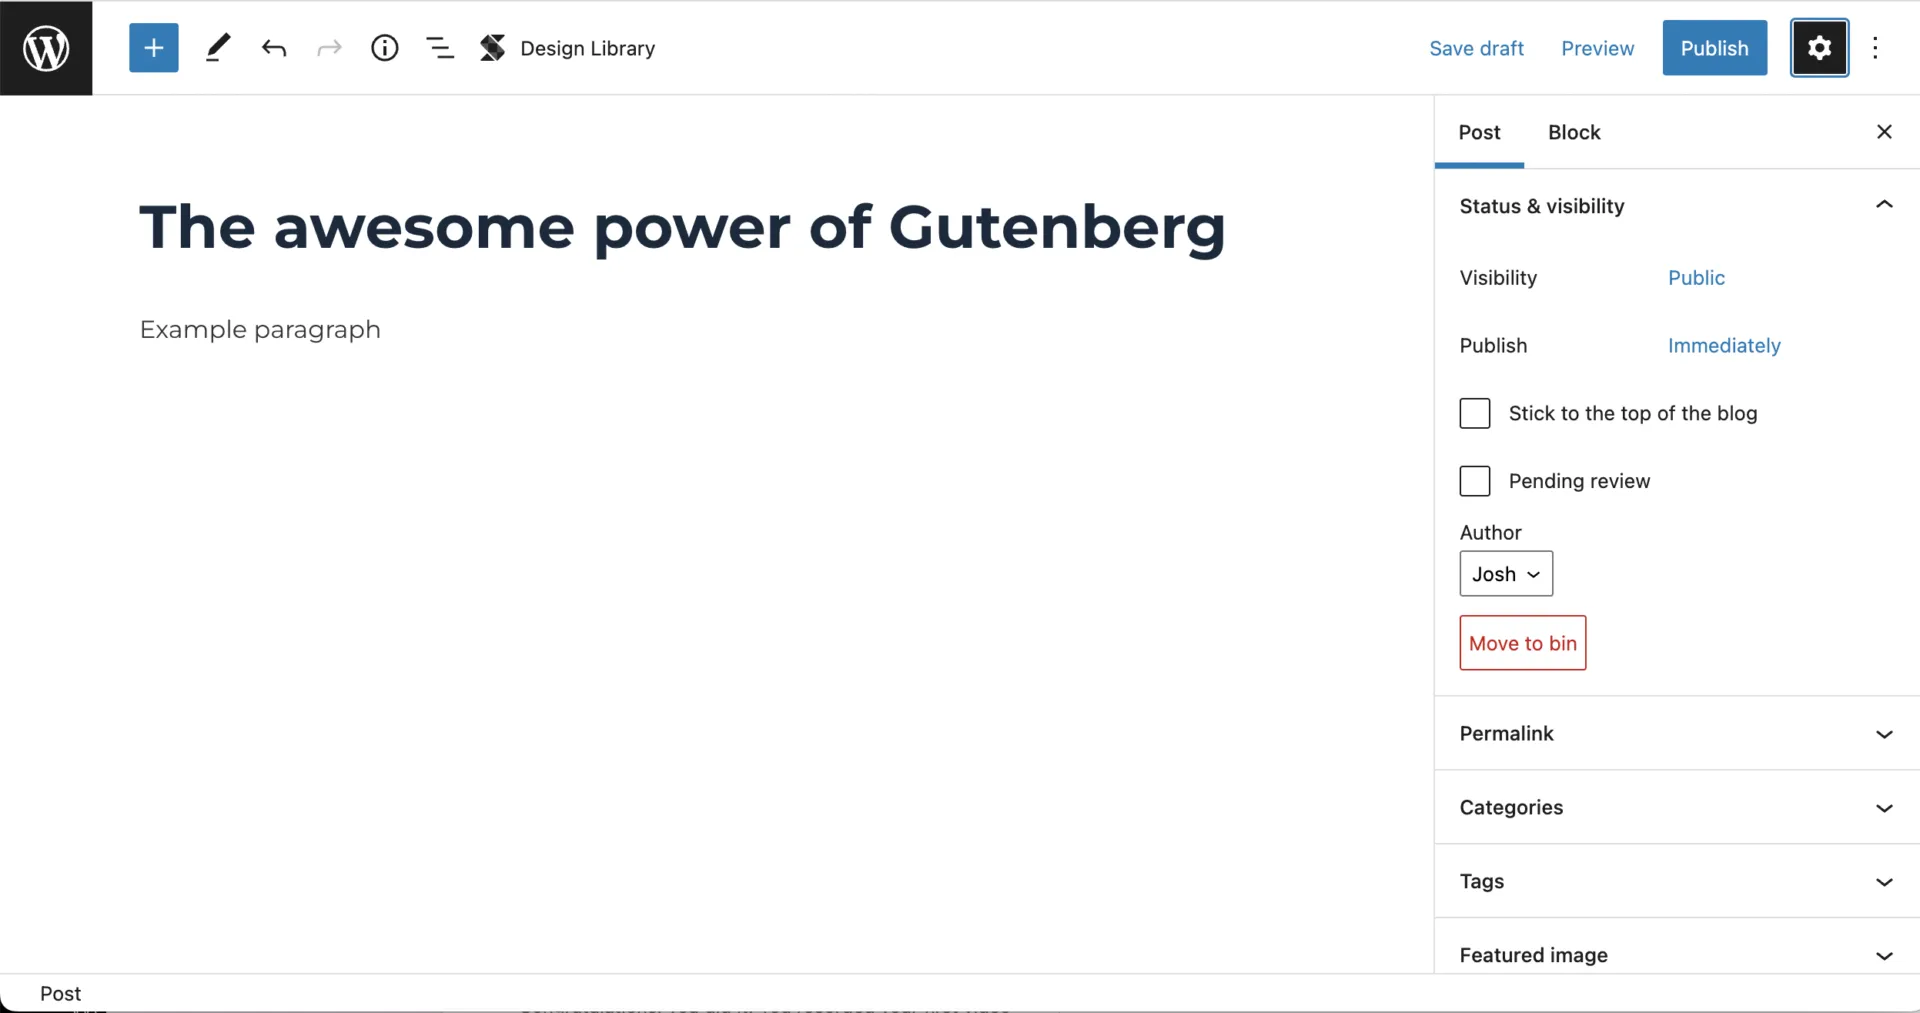
3. Keep an eye on your Document Outline
To see your document outline (often called a table of contents or T.O.C), in the top bar, press the info “ⓘ” icon.
The info box will give you information about your page/post, such as word count, number of paragraphs & headings etc. and most importantly, your Document Outline.

The document outline is an overview of your structured content. At least how your headings are structured in terms of H1 to H6 tags.
You’ll want to make sure your content flows nicely and the headings are in a hierarchal order. In other words, Heading (H1) > Sub Heading (H2) > Sub-Sub Heading (H3) > Sub-Sub-Sub Heading (H4) and so on.
We won’t go into it here, but properly structured content is super important for SEO purposes:
“Proper use of subheadings (H1, H2, H3) helps Google understand your content better and makes your text more accessible to readers.”
4. Drag ‘n’ drop images right from your desktop
No need to add an image block, the act of dragging and dropping an image on to the page or post will auto upload the image to the media library and create the image block for you.
5. Use the different editing modes
You can enable/disable unique editing views to tailor your editing experience. Press the three dots in the top right corner to see the options. You can toggle between full screen mode, spotlight mode and top toolbar.
Each have their use cases. Try them out and see which work best for you.
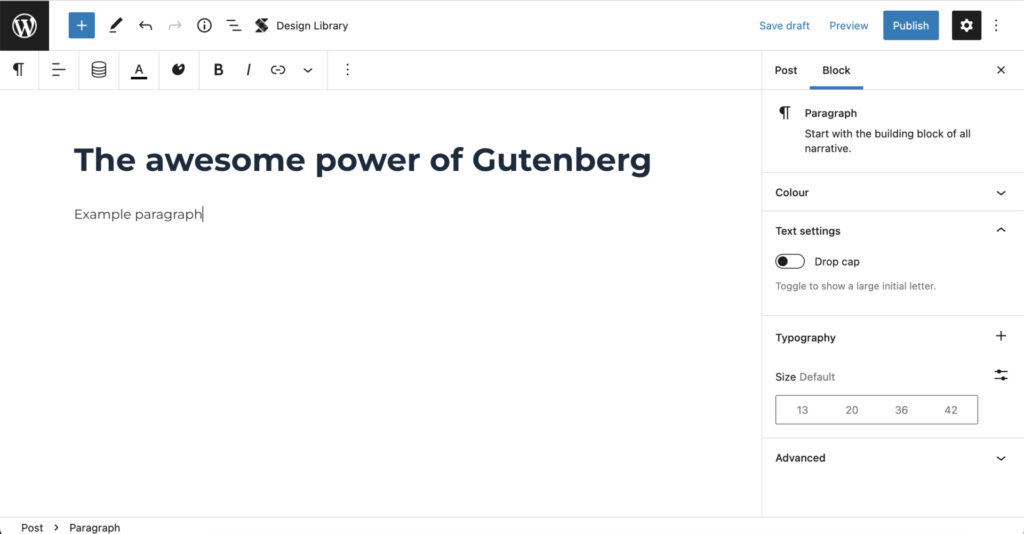
Top Toolbar
Whether to show the block’s tool bar inline (above the block you’re editing) or fixed to the top of the screen. This is really just personal choice in our opinion.
Top toolbar enabled
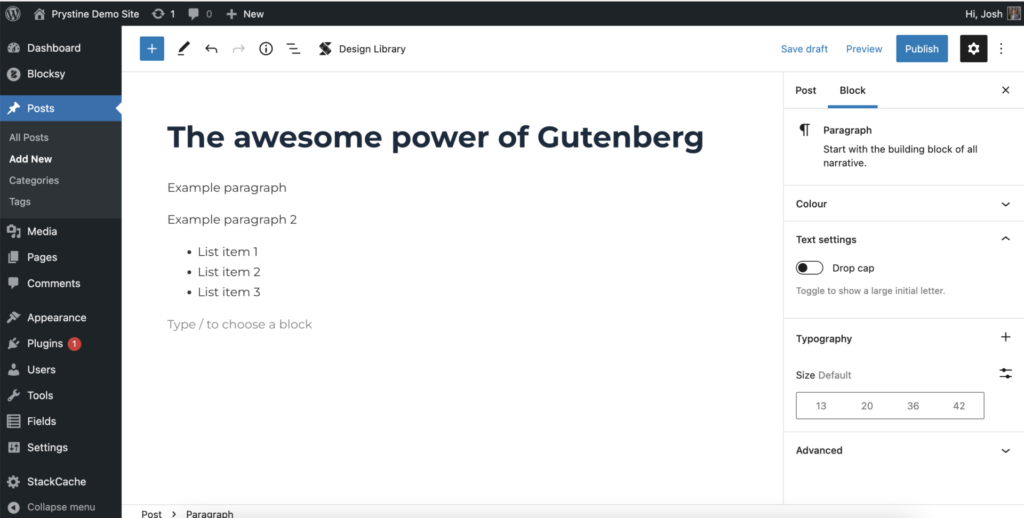
Spotlight mode
Spotlight mode grey’s out all your blocks until they are selected. Useful if you’re typing text heavy articles, to easily see what’s selected against an other blocks.

Spotlight mode enabled, also showing the inline toolbar
Fullscreen mode
Fullscreen mode, when enabled, hides the admin panel side bar and top bar, allowing for distraction free editing. Personally, we find this really useful for design extensive editing, as it give you the full picture.

Fullscreen mode enabled (is default)
Fullscreen mode disabled
6. Responsive Previews
You can preview how your page will look on a tablet and mobile without having to load up the page on tablet and mobile devices.
How? Press the “Preview” text in the right-hand side of the top bar and select the viewport you’re after. See below.
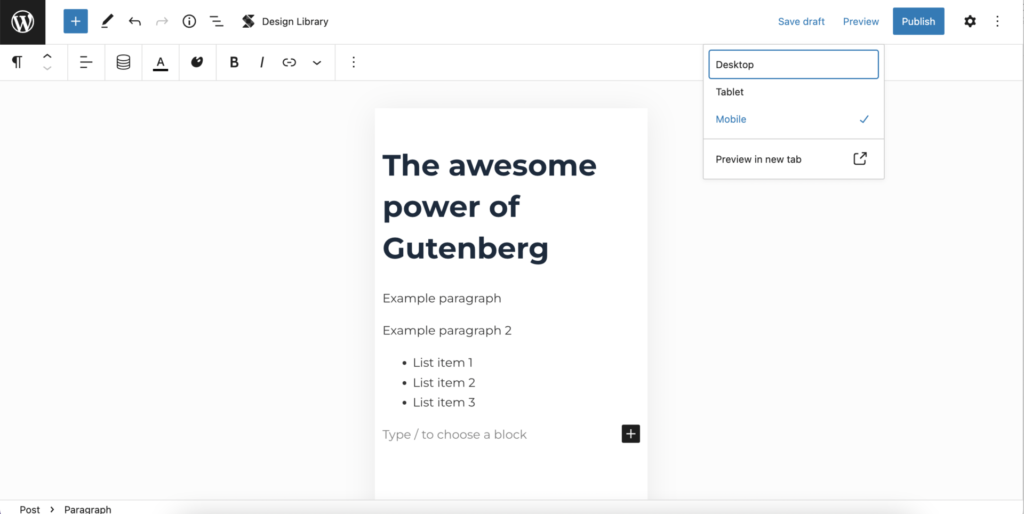
Preview mode enabled for mobile viewport
7. Achieve and do even more with third party add-ons
We’ve tested a few Gutenberg extensions over the years and our favourite add-on has got to be Stackable.
Why? Because it’s seamless with Gutenberg, is built with the same mindset (no bloat & lightning fast) and there are lots of options & settings such as animation and SVG shape dividers you can add to your page/post.
It also adds a range of new blocks to really bring your designs alive.
They have a free version to try out risk-free and a premium version with all the bells and whistles.
Full disclosure, the Stackable links are referral links… helps pay for the Saturday night beers.